To display the site-side chatbot with SmartSearchWP, follow these steps:
1. Log in to your WordPress dashboard.
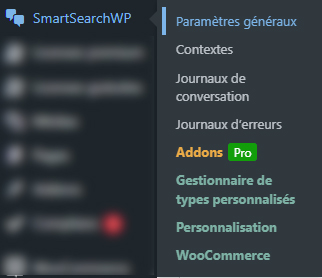
2. Look for “SmartSearchWP” in the side menu.
3. Click on “General settings” to access the plugin settings.

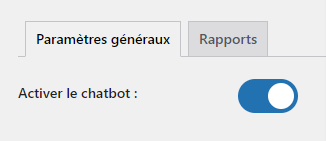
4. Activate plugin display

1. Go to the ‘Contexts’ section: In the SmartSearchWP configuration menu, select “contexts”. These contexts form the basis for your chatbot’s responses. If you don’t have any contexts enabled, the chatbot won’t display.
2. Define the pages to be included: Select the pages the chatbot should take into account when responding. You can select the specific pages you wish to include in the chatbot’s knowledge base by clicking on “Generate integrations”, which will train the chatbot with your content, and then on “Activate”.
3. Customize parameters: Adjust parameters such as temperature, number of contexts, similarity threshold and accuracy threshold to define how the AI should behave in the “general parameters” section.
1. The chatbot must be activated and at least one context must be enabled for the chatbot to be displayed.
2. The chatbot appears automatically in the bottom right-hand corner of your screen. No widget is required.
Powered by BetterDocs


Powered by artificial intelligence, the bot can make mistakes. Consider checking important information.